This article is about a simple water material. I picked up three main points that make a water material look more convincing.
Water Surface Effect
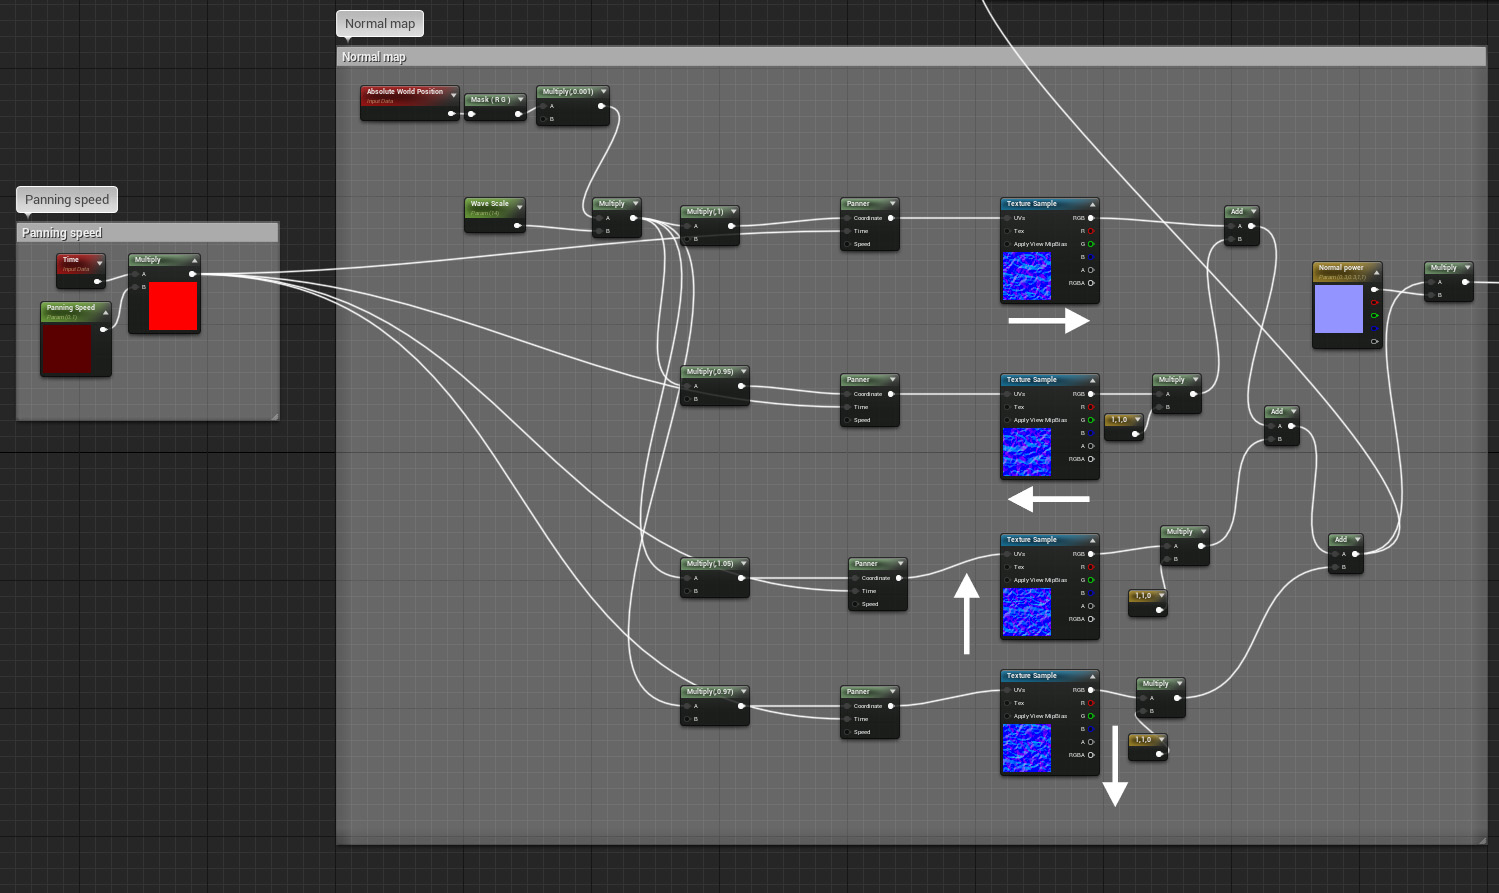
The first combination is a surface wave effect using a normal map.
By using Speed X and Speed Y values of the Panner node, you can add right-left and up-down movements.
The left-right and left-down movements are represented as (-0.5, 0), (-0.5, 0), (0, 0.5), (0, -0.5), (0, -0.5), but the values of each are shifted.
ex (-0.52, 0), (0, 0.49), (0, -0.48), (0, -0.51)
This is because if the values were at 0.5 sharp, the movements would be perfectly overlapped at one point and wouldn’t look as nice.
By slightly shifting them on purpose, you can broaden the range of expression.
Alternatively you can reduce Panner node from four to two if it’s too heavy.
Wave effect
The second combination is the wave effect of moving geometry.
The water plane mesh needs to have enough geometry to make this work.
I added movement by controlling a Sine node with a Time node.
Again, I divide the Absolute World Position by different values to add variation to the wave effect.
Underwater Effect
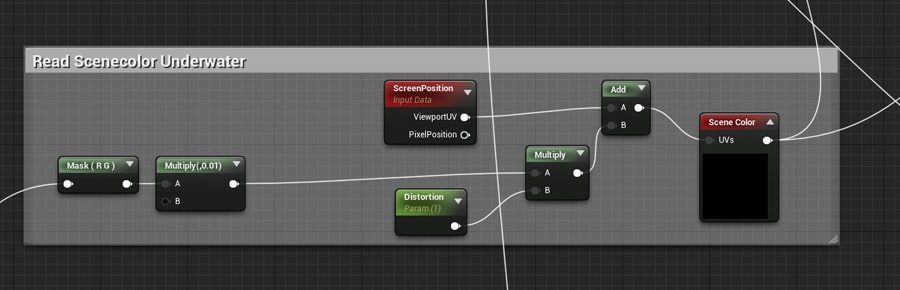
The third combination is an effect that reproduces the distortion underwater.
By using a ScreenPosition node, you can add an effect to the UV on the part of the water that lies beyond the surface.
It’s reuning the distortion effect in the surface wave effect and the intensity is controlled by the Distortion parameter.
Result
Deapth Fade and Fresnel nodes are also used in this GIF, but I have only picked out the key points.
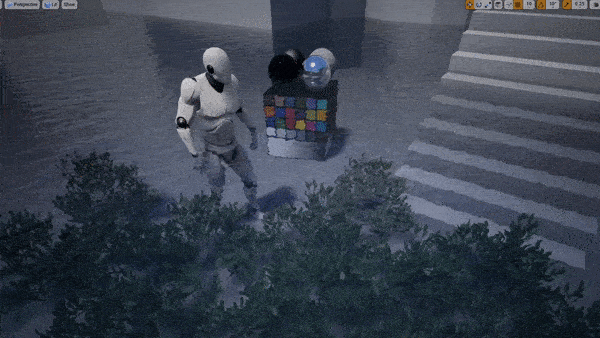
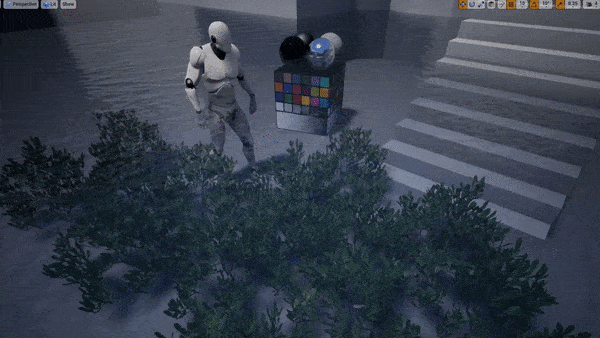
By the way, this is what it looks like when there is no effect under the water.
This is especially noticeable in places with straight lines, such as stairs.
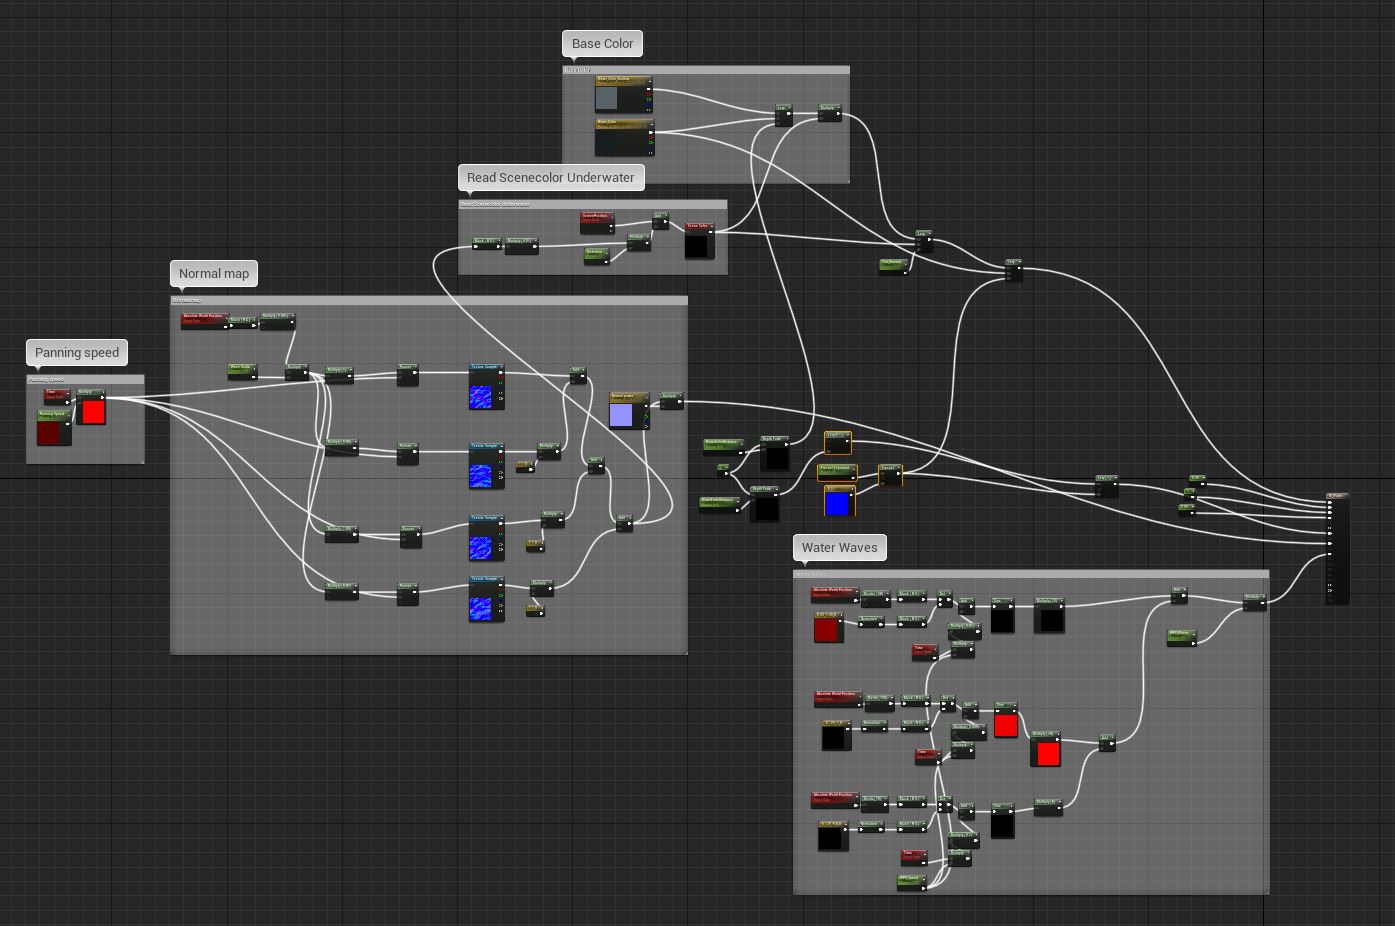
Overview of the water material.